Anyway... I digress. I adore running in 3/4 tights and a nice, comfy racerback tank. But any cute racerback tank in sports stores was upwards from $50! So I decided it'd make a nice DIY project. So off I set, well informed from reading tutorials from Rabbit food for my Bunny Teeth and Dollars, Sense & More and a cheap shirt I hadn't worn since I bought it!
Now? Slightly addicted. Just a little. I've now made a few of these shirts and swear there is nothing more comfortable to run in! Nice and breezy. And you can completely pick your own style - if you think such a thing is important when getting all hot and sweaty. Own it. Make up your own slightly different way of renovating your t-shirt - that's what I did!

DIY GYM SHIRT TUTORIAL
STEP 1:
Choose a shirt. Doesn't have to be anything special, just something you won't cry about cutting into pieces and creating into a cute new tank for the gym or running. I picked this one - a $2 bargain from KMart. I also recommend starting with a t-shirt that's a size or two bigger than what you'd usually wear. You'll also need a pair of scissors and a marker that'll wash out (or tailor's chalk, but I didn't have any handy...)

STEP 2:
Lay the shirt flat, facing up. Mark out where you want to cut your neckline and arm holes from the front. Keep in mind with the arm holes that you can always try it on and cut off more later! I don't mind it gaping a little as I'll often wear it over a sports bra or cropped top and find it more breezy. If you want less gaping, cut the arm holes smaller than I did.

STEP 3:
Now... the fun part! Cut up the front of your shirt! Follow the lines you've made, but don't stress too much. One of my favourites isn't symmetrical, but it sits fine when its on. Also cut the bottom hem off your shirt.

STEP 4:
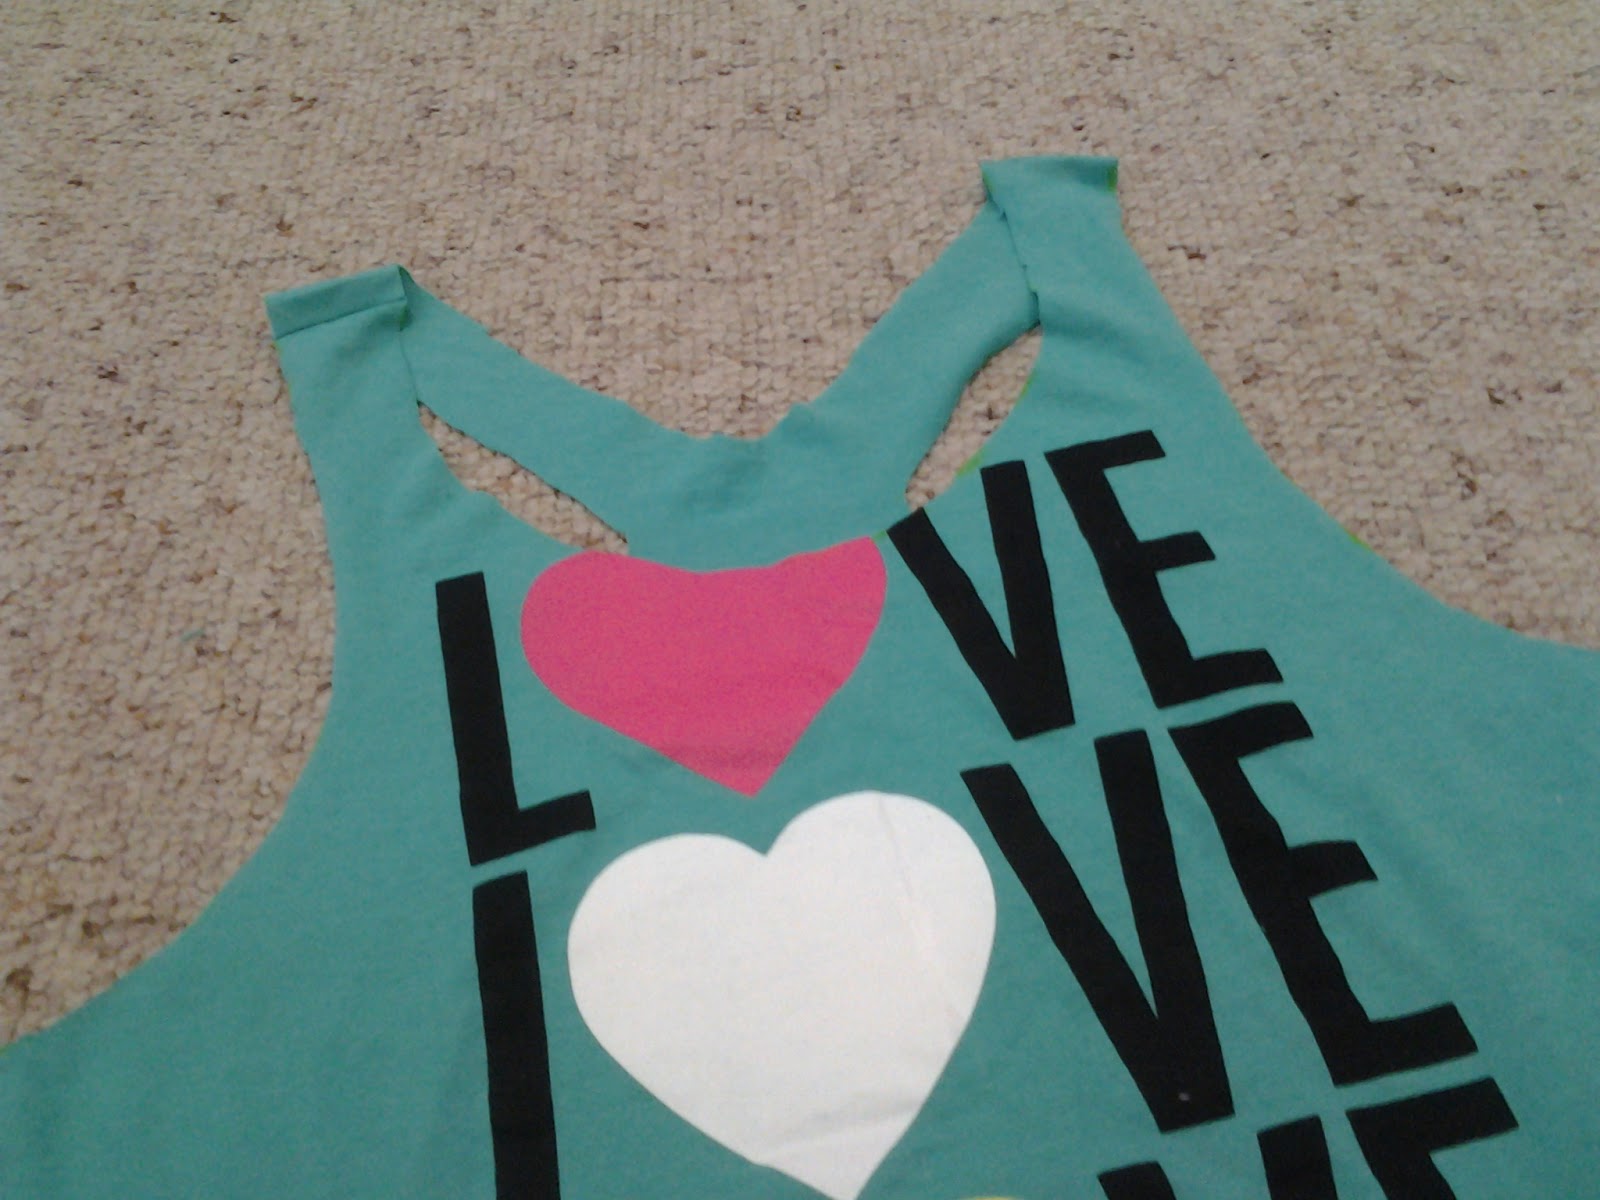
Flip your shirt over so the back side is facing up. Mark out where you want to cut to create your racerback. Remember that part of your racerback is going to be formed by tying/wrapping up the middle section of it, so you want to cut away enough in the middle of the back so it doesn't have too much extra fabric at that point. Experiment a little - this is another point that "less is more". If you're worried, leave a little more than what you think you need and you can trim away later if necessary. The back of your shirt is where you get to be creative and make something unique, so you don't have to do it exactly the same as me!

STEP 5:
Cut out your racerback!

STEP 6:
At this point you should try on your shirt. Make sure you're happy that it fits comfortably and that the arm holes are big enough. This is the point where you should be doing any further trimming you think is necessary. I didn't need to, so moving right along...
To embelish the back and make that fancy knotted racerback, I use the left-over fabric from the bottom hem. You could use ribbon, contrasting fabric, cotton rope, you name it! Like I mentioned before, the back of the shirt is where you have a little creative licence to make it "yours" and style it as you wish.
Take your seam ripper and undo the seam of the left-over bottom hem you cut off earlier.

STEP 7:
Use this fabric as a "rope" to make your knotted part at the back. I did a a basic throw (like you'd do to tie your shoelaces) and then continued doing forward knots (similar to making a really basic friendship bracelet, for those who may have made them as children) until I was happy with the length of the racerback I'd covered. I don't tie my knots too tight, so they can slide up and down the racerback to get the position right. I finish by trimming the ends with enough left to tuck it under the back of the knotted section. I find this usually holds together fine, even after going through the wash!

That's it! The whole shirt takes less than 30 minutes (it took me about that long taking photos) and you'll have your own cute little tank to wear at the gym or out running. Admire what you've created, and wear it proud!
Front:
Back:

Let me know if you give this tutorial a try. I'd love to see what you come up with - put a link in the comments for me to your own blog! Once again, sorry for the terrible photos. My tablet hates me for making it double as my camera, but its all I've got for the moment until I buy a new camera! Anyone have suggestions of what's good? Simple to use, compact, takes great pictures?
No comments:
Post a Comment